Ceiling Fan Direction and Your AC: A Simple Trick Gilbert Homeowners Overlook
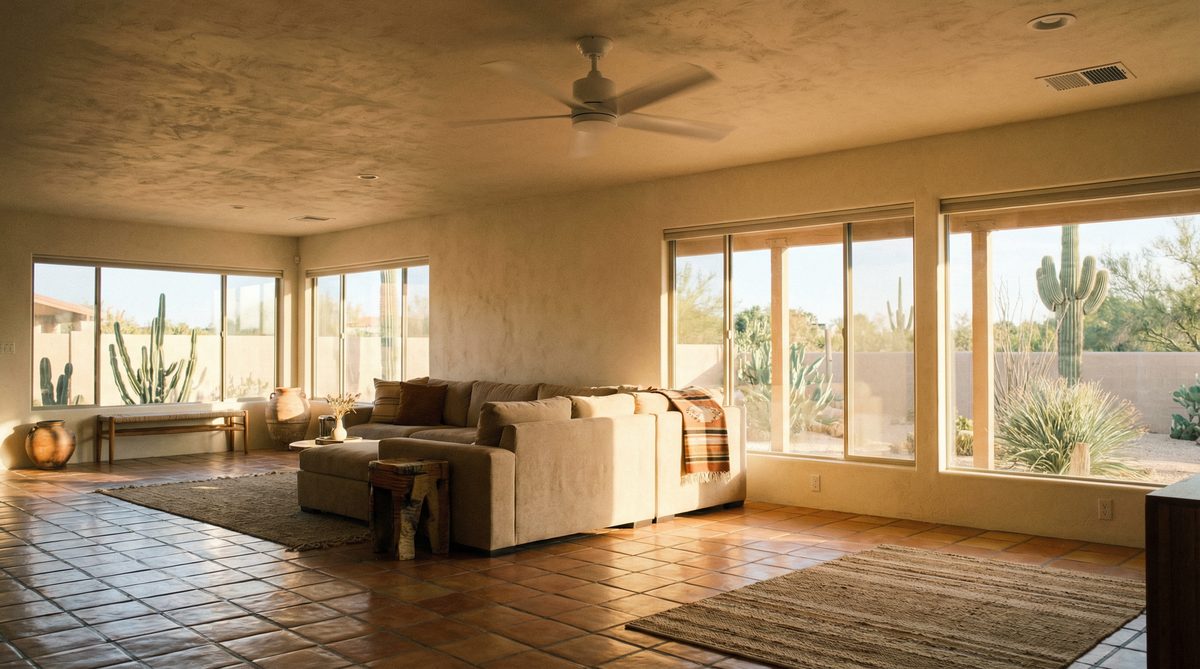
Ceiling Fan Direction and Your AC: A Simple Trick Gilbert Homeowners Overlook Living in Gilbert, Arizona means dealing with intense summer heat that pushes our air conditioning systems to their absolute limits. When temperatures soar...