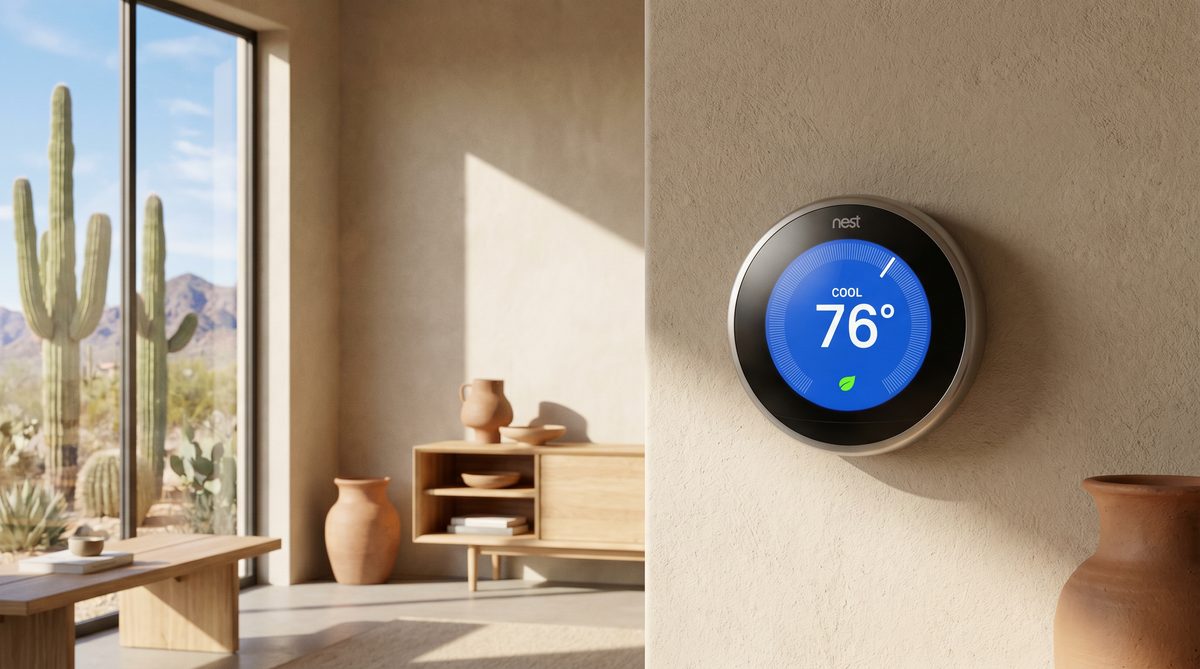
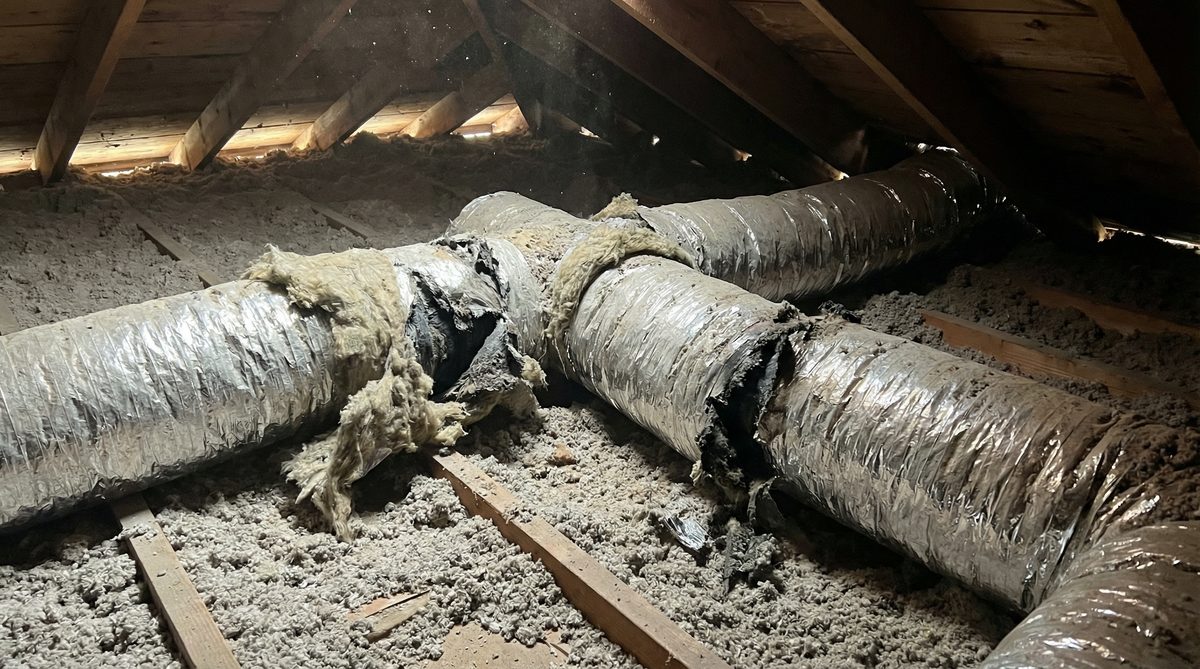
Evaporative Coolers vs. AC in Sun City: Which Makes Sense for Your Home?
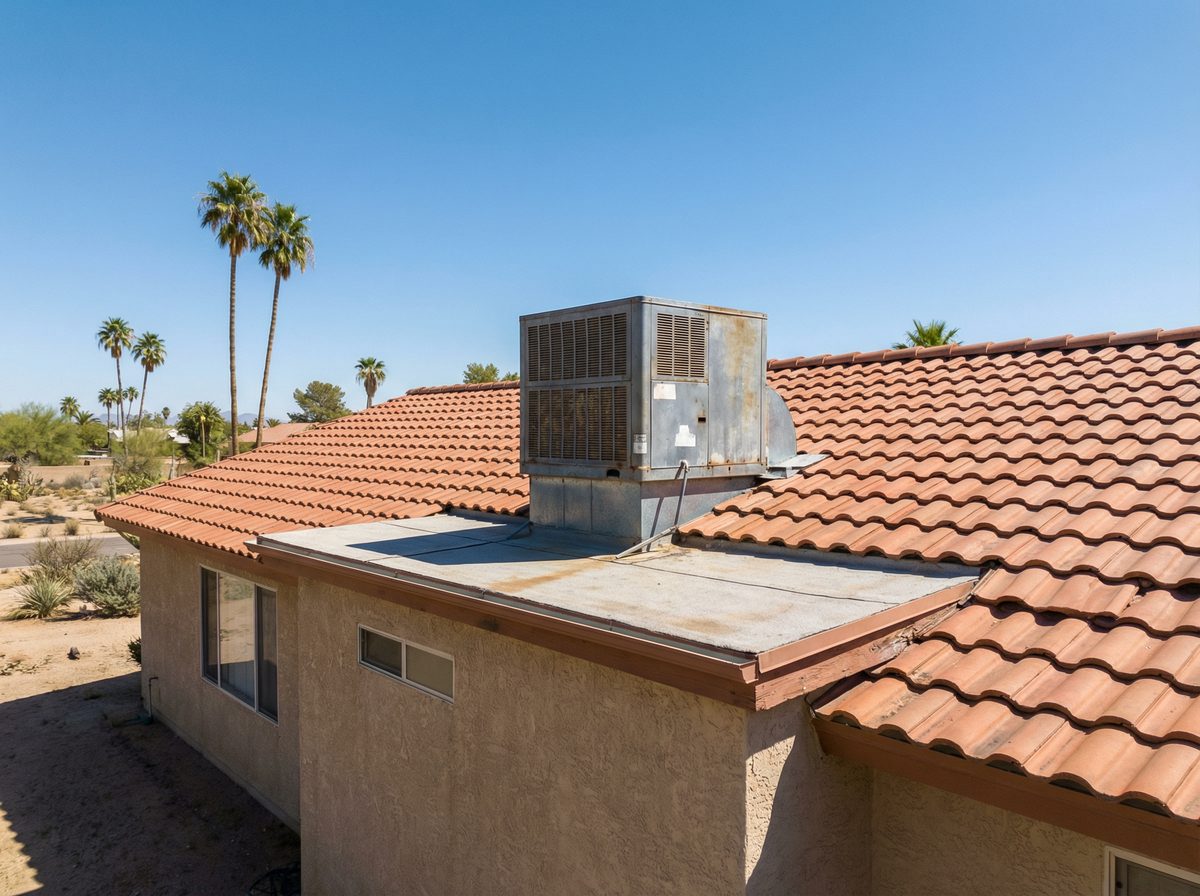
Evaporative Coolers vs. AC in Sun City: Which Makes Sense for Your Home? If you’ve lived in Sun City for a while, you probably remember when almost every house had a swamp cooler on the...