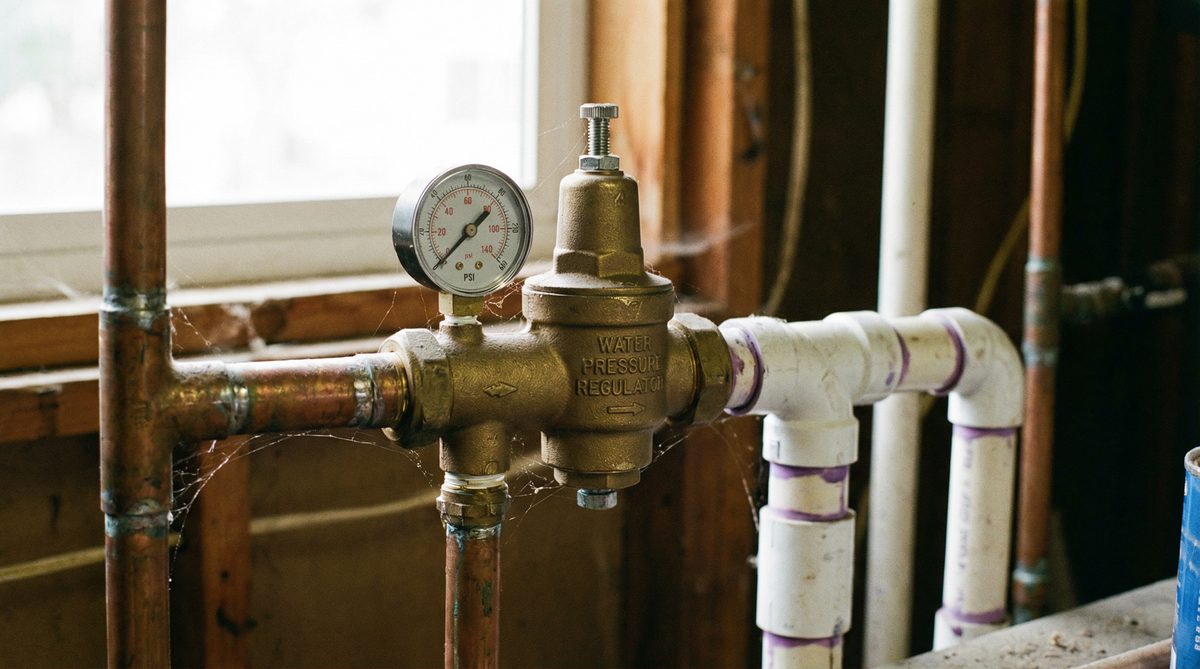
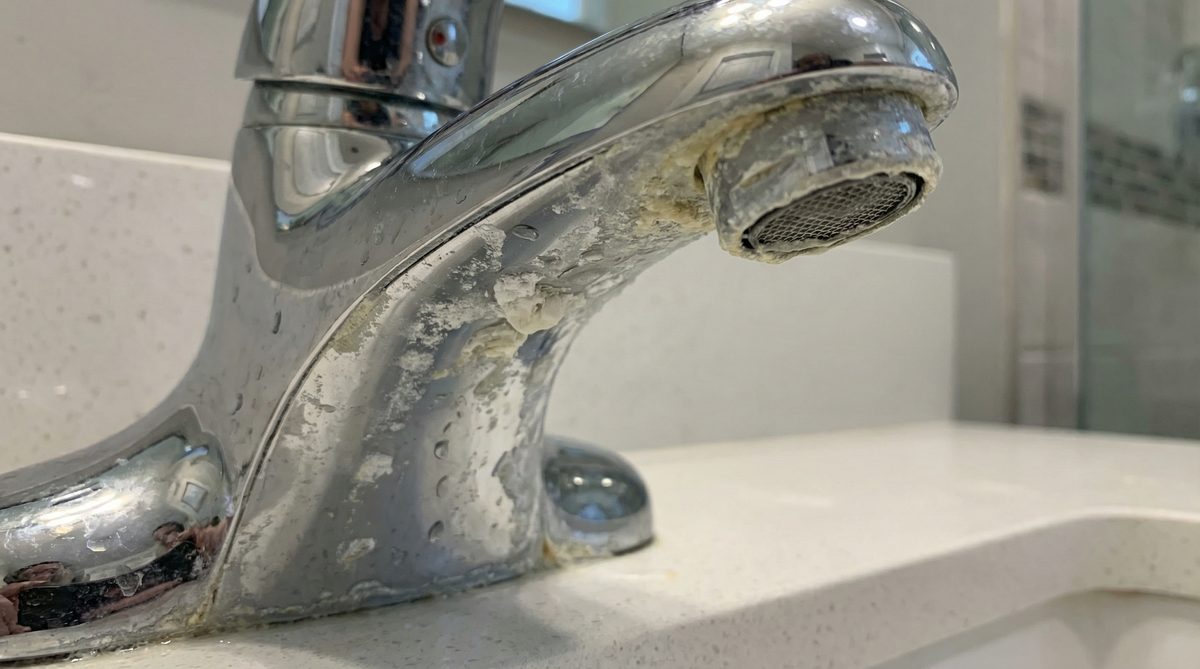
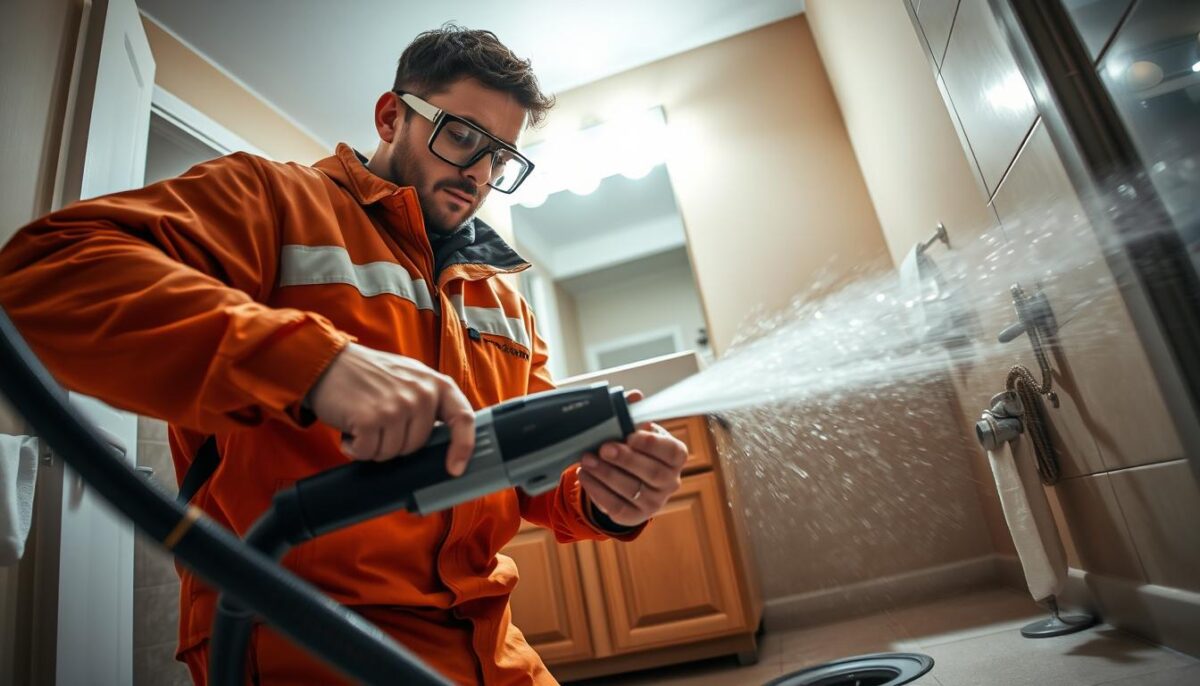
Repiping Your Scottsdale Home: When Galvanized Pipes Need to Go
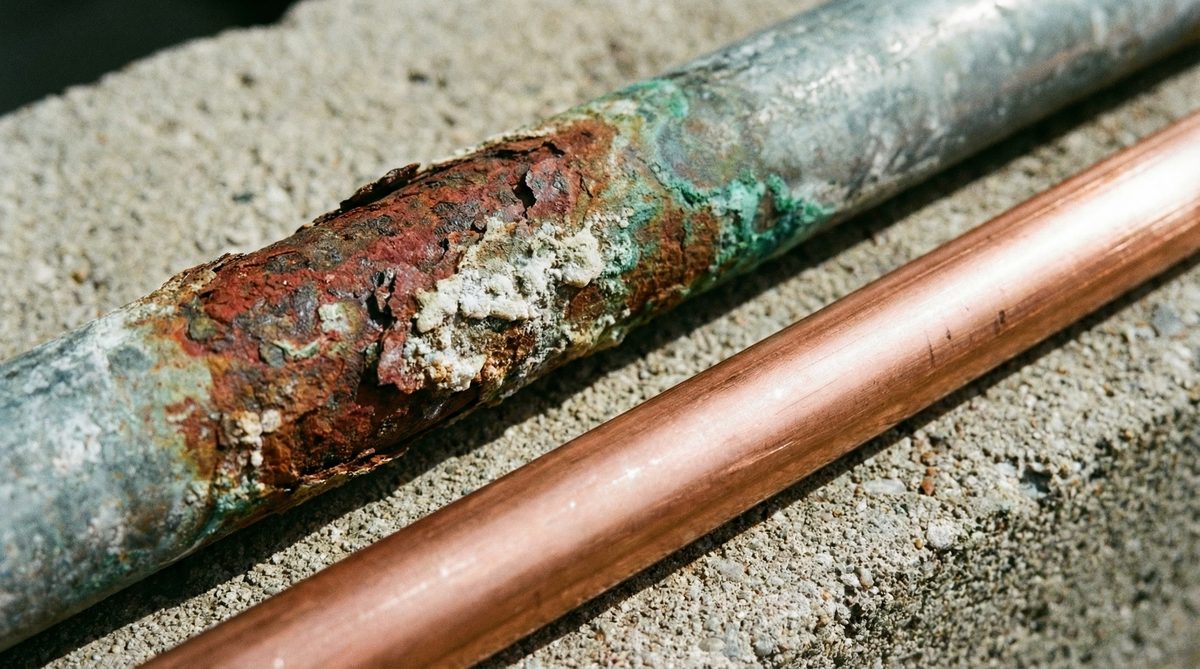
If you live in a Scottsdale home built between the 1960s and 1980s, there is a good chance you still have galvanized steel pipes hidden behind your walls. Back then, galvanized pipes were the standard...