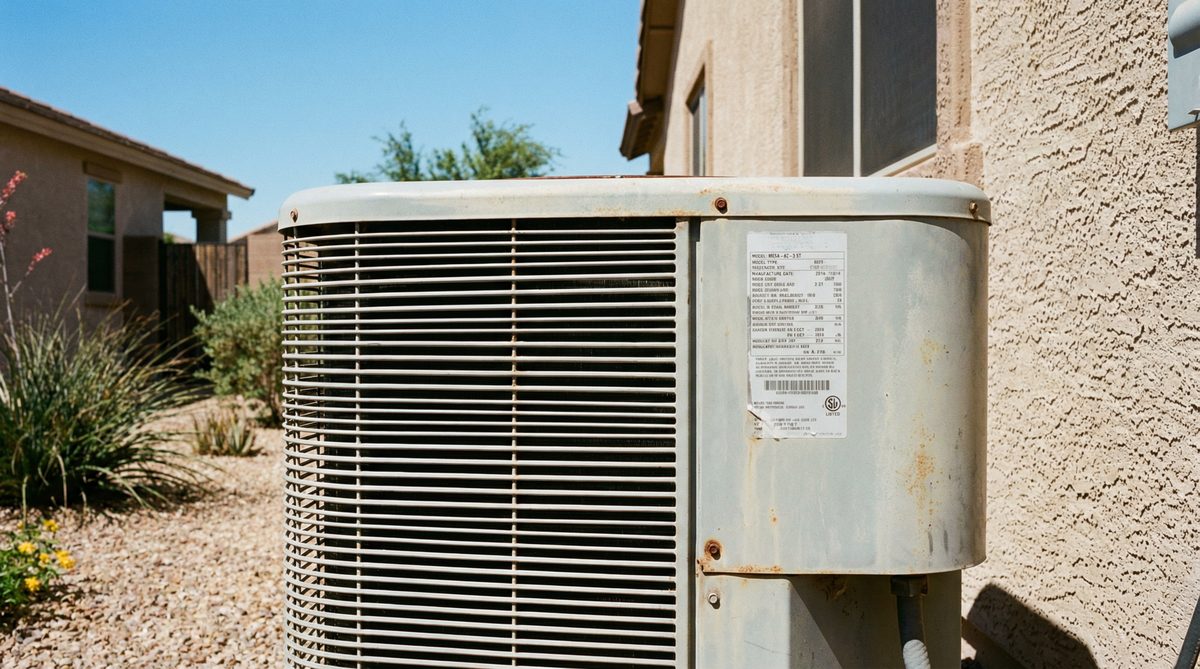
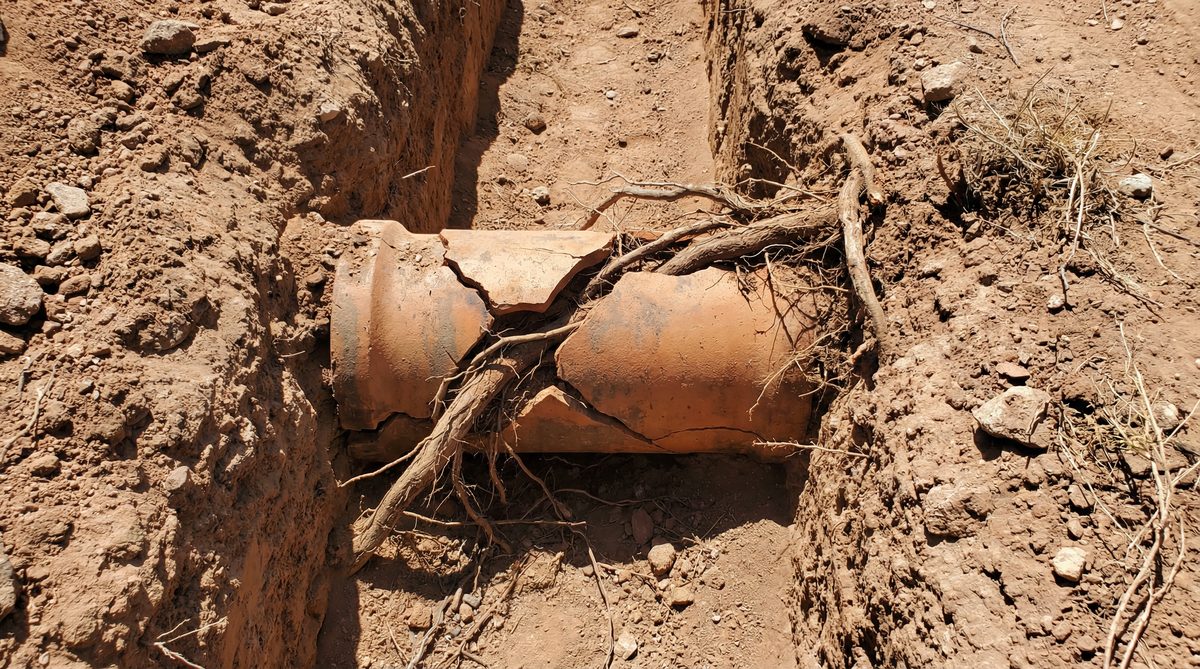
Energy-Saving Upgrades for Sun City Homes: AC and Plumbing Improvements That Pay for Themselves
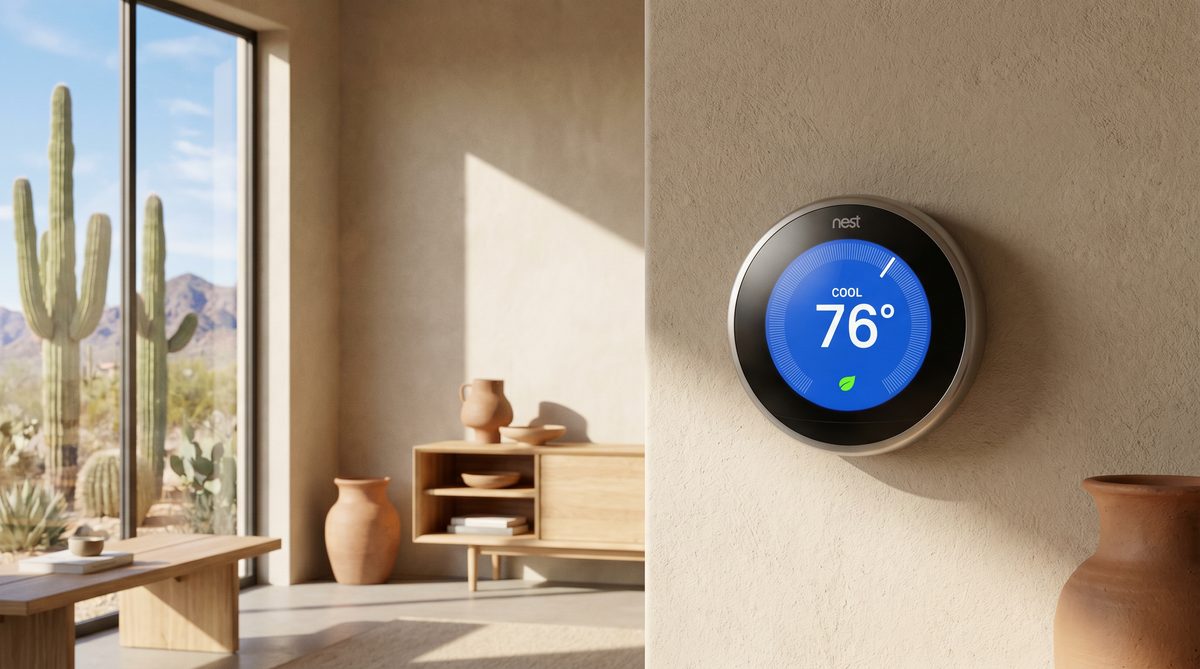
Energy-Saving Upgrades for Sun City Homes: AC and Plumbing Improvements That Pay for Themselves Energy-Saving Upgrades for Sun City Homes: AC and Plumbing Improvements That Pay for Themselves Living in Sun City on a fixed...